

Difficulty: Varies depending on template

- thick card stock paper
- foam board
- a shadow box*
- an LED light
- white glue
- a craft knife (and surface protection)
- a box cutter
- scissors
- a ruler
- a pen/pencil
*Most of the templates are 6"x 6" so you will need a shadow box that will fit a 6" x 6" object. You will also need to make sure the shadow box is deep enough to fit your lightbox thickness and LED light. Foam board is usually about 1/4" thick so no lightbox design will exceed 2" when built. If you want to make your own shadow box/ make a larger lightbox, adjust the templates accordingly.
Lightbox Templates
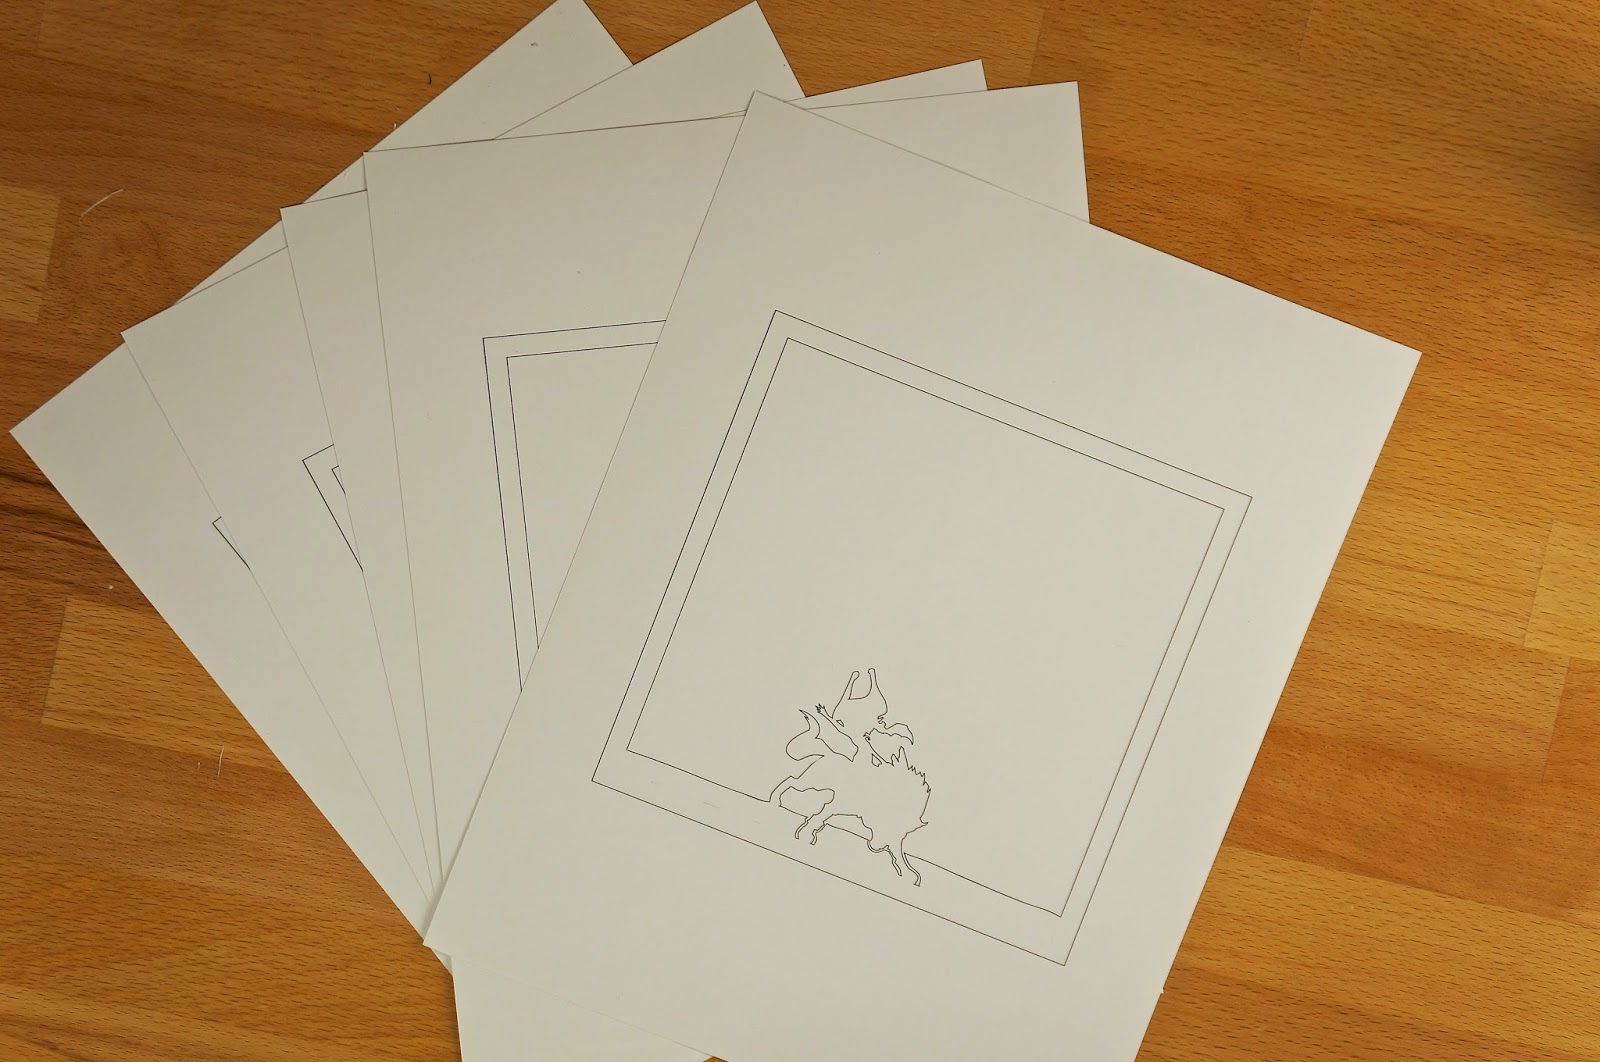
Start off by printing out your lightbox template of choice onto thick card stock paper (templates can be found here). If your shadow box has a lip around the edge, don't bother with the first page of the template (the frame page).


Once you have your template printed, cut out the layers of the lightbox. Use a craft knife to cut any small and intricate details. Make sure to not cut into the square frame. Try to cut off the printed lines.


Measure rectangles 6" x 1/4" and 5.5"x 1/4" onto your foam board*. You will need 2 of each length for each layer of your lightbox with the exception of the back layer (if you have a template that has 5 layers + a back piece you will need 10 of each length).
*Some of the lightboxes are larger - all lightbox templates use strips that are 1/4" wide, substitute the length (if necessary) to fit the template you've chosen.


Carefully cut your foam board strips with a box cuter.

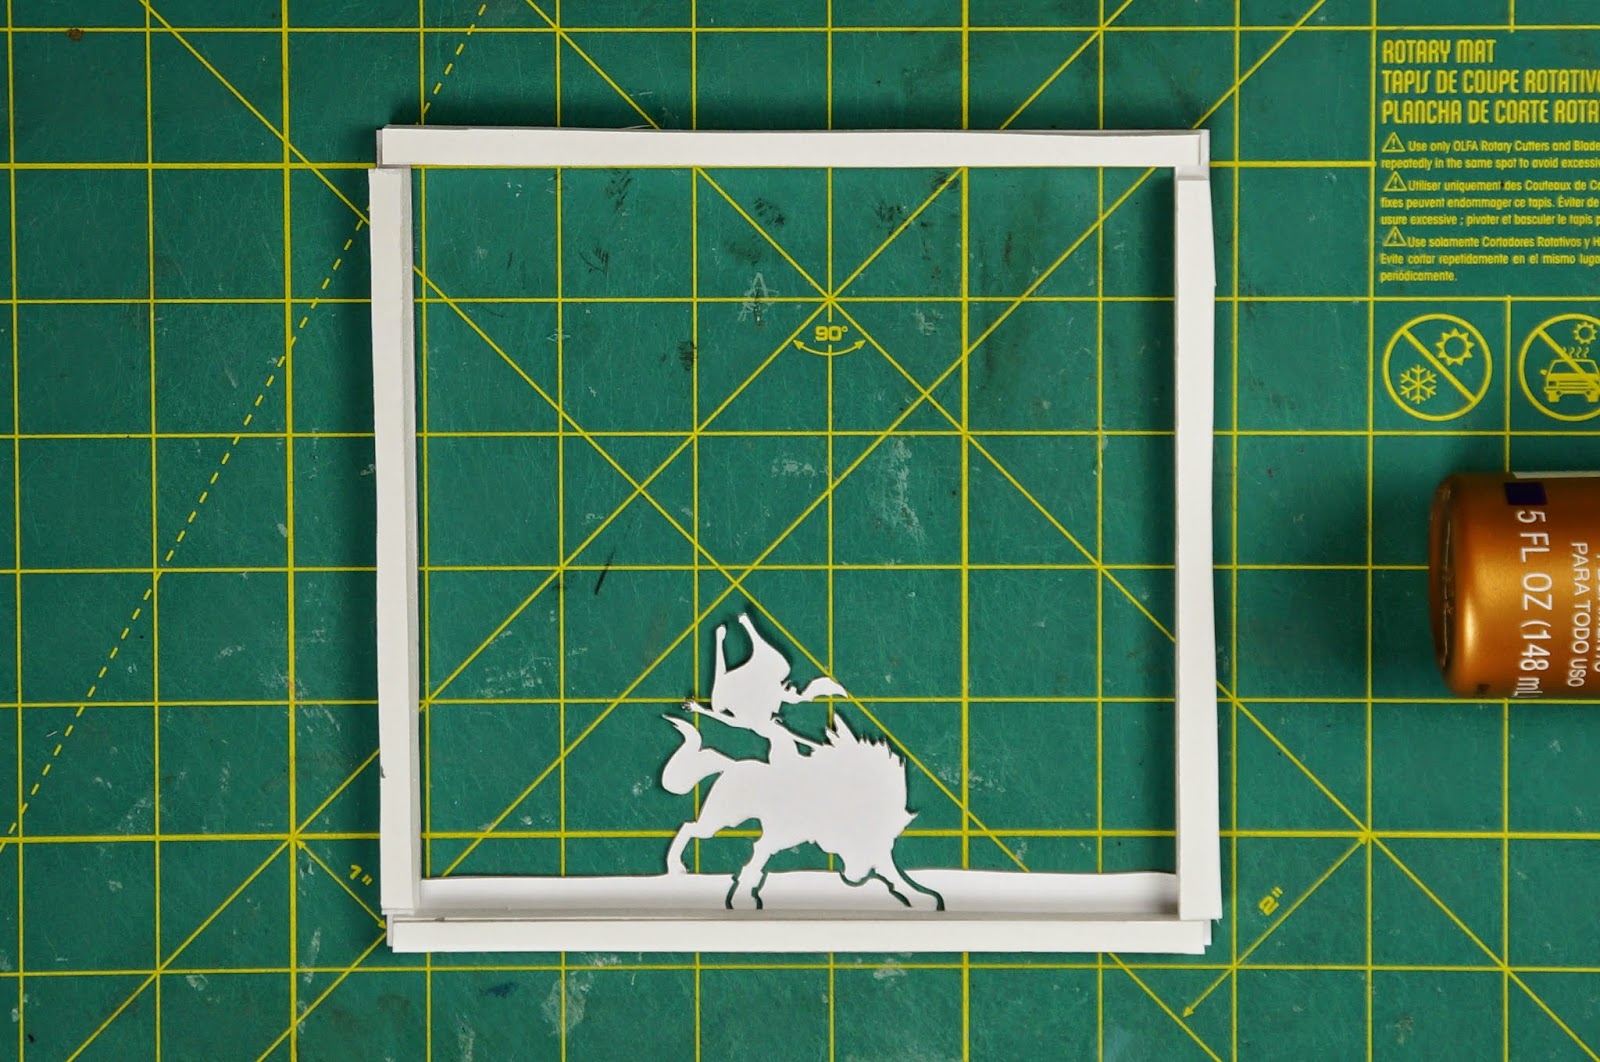
Glue 2 of the 6" long strips on opposite sides of the square boarder on the first page of your template. Make sure you are glueing the strips on the wrong side of the paper (the side that has the printed lines). Then glue 2 of the 5.5" strips to the remaining sides.

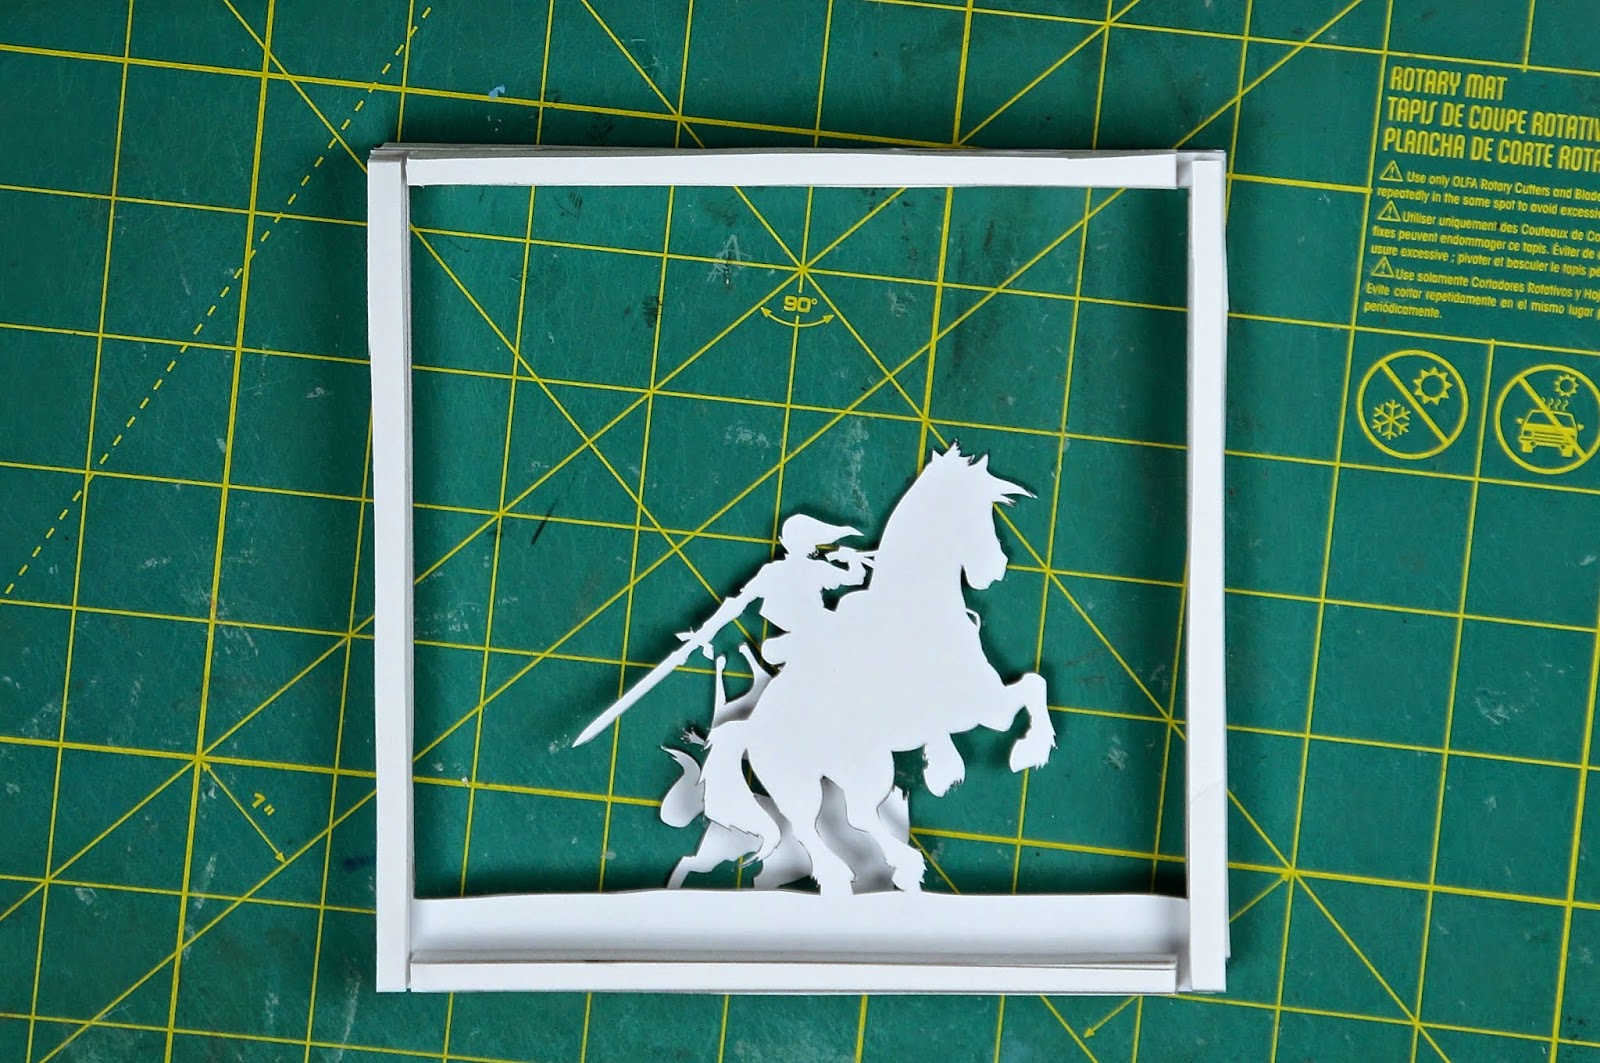

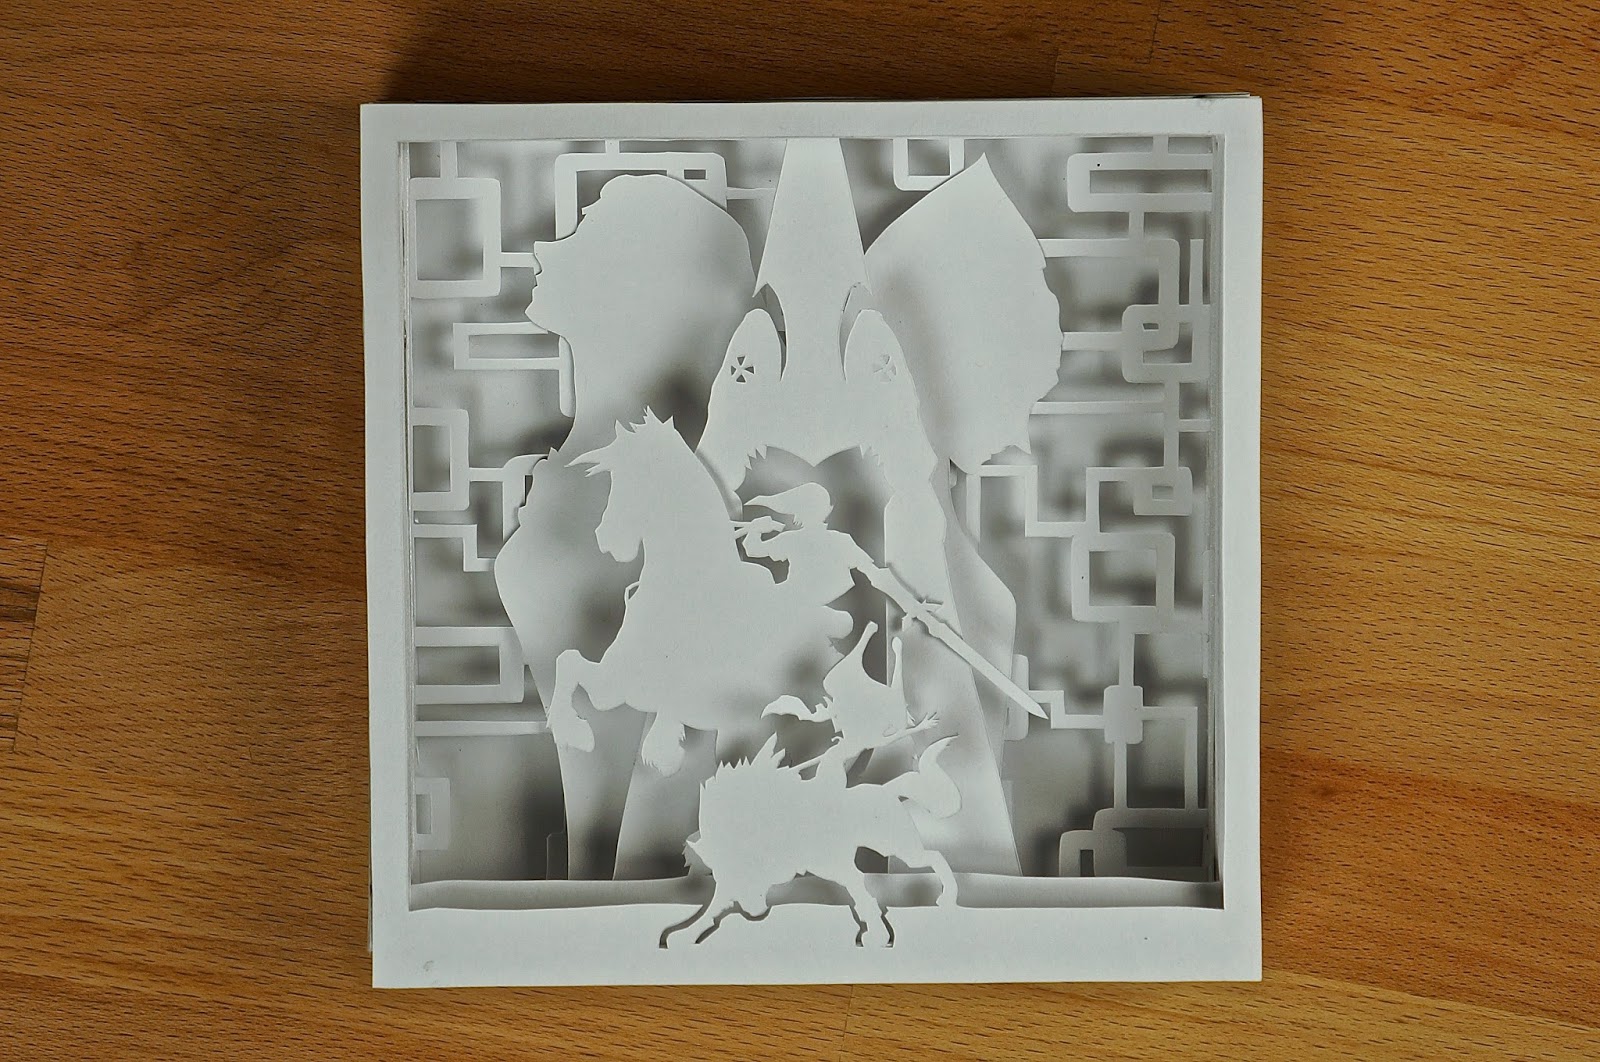
Glue the second layer of your lightbox (right side down) to the foam strips on your first layer. Repeat the same steps with glueing the foam strips to the second layer and then glue the third layer to those strips. Do this for the remaining foam strips/ layer of paper.


Once the glue has dried, gently push your paper and foam board block into your shadow box.

Add an LED light into the back of your shadowbox then replace the shadow box back.

Now you have your finished paper lightbox!
I absolutely love this idea, but the lightbox you have with the tutorial is much lighter with the LED then the picture you have up top, did you use black card stock instead of white with that one?
ReplyDeleteWill definitely have to do this to add to my Zelda wall! :3
They're the exact same lightbox. The picture in the tutorial was just taken with another light on in the room whereas the picture at the top was taken in the dark with just the LED light on.
DeleteAlso, where do you buy a shadowbox? I'm not sure if I'm looking wrong or not, but I can't seem to find one. ^^;;
ReplyDeleteYou can find shadow boxes in craft stores. Basically anywhere that sells picture frames will probably also sell shadow boxes. They're essentially deep picture frames.
DeleteSorry to ask, but where did you find your led and what kind is it? I looked at Michaels and even lowes, and I can't find small leds (only huge ones or long ones.)
DeleteI had to use something larger than I would have liked because I didn't feel like waiting to film the tutorial. I've heard these work well, you can cut the light to the length you want but you'll need to buy the power cord and attachment: http://www.amazon.com/dp/B002QQ48TK/?tag=chezlin-20
DeleteIf you have an IKEA near you these might work well: http://www.ikea.com/us/en/catalog/products/00119424/
Ikea also has some LED strips and colour changing versions of both the pucks and strips. Hope that helps you!
Thank youuuuu.....brava,good!!!!
ReplyDeleteThis comment has been removed by the author.
ReplyDeletei really admire your work and it helped me a lot thanks for sharing these templates......can you share some more of the templates if possible
ReplyDeleteI really appreciate the time you took to explain the materials listed. A non-video tutorial STILL is appreciated! Compared to all of the 100% videos! :)
ReplyDeleteHow much gsm thickness of paper I will use, eg: like 170gsm, normal paper thinkness is like 80gsm...
ReplyDelete